Swirl, Sniff, Feel: Developing Your Personal Tasting Notes for Paper
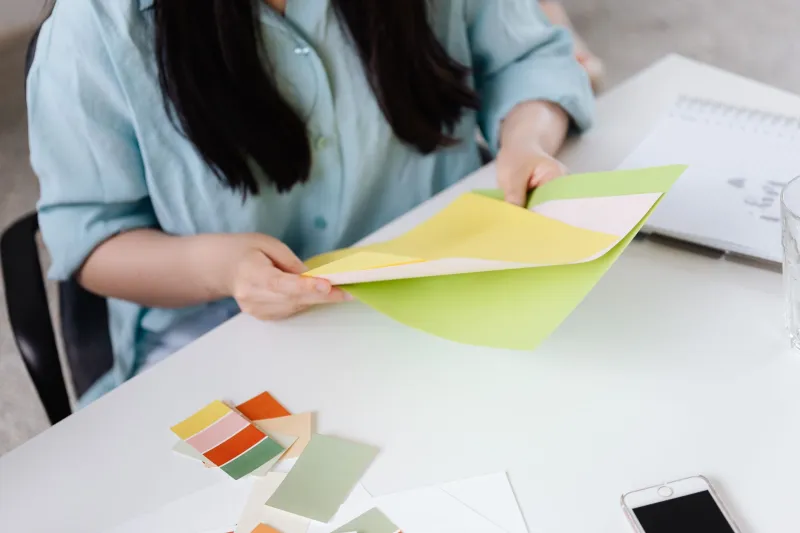
There's a moment every serious creative hits — standing in front of a paper display, overwhelmed by names like "cold-pressed hot-white" and "vellum finish" and "laid texture," wondering why none of it actually tells you how the sheet is going to feel under a brush or a pen or your fingertips. The labels describe. They don't communicate.
Sommeliers have the same problem. Wine labels describe grape varieties and regions, but none of that tells you whether the wine is going to taste like a rainy afternoon or a sun-dried fig. So they built a sensory vocabulary — a shared language for experience rather than specification. And it turns out, paper people need exactly the same thing.
Let's talk about how to build yours.
Why Generic Descriptions Are Failing You
Most paper descriptions are written for printers and production managers, not artists. "80 lb text weight, smooth finish, bright white" tells you almost nothing about how a graphite pencil will glide across it, whether a wet brush will buckle it, or if your gel pen will skip on the surface. It's like describing wine by its alcohol percentage and bottling date.
The problem isn't that the specs are wrong — it's that they're answering the wrong questions. What you actually need to know is: How does this paper behave with my tools? How does it respond to pressure? What does it do to the mood of my finished piece?
That's sensory information, and the only way to build it is through deliberate practice.
Setting Up Your Paper Tasting Station
Here's where it gets fun. Pull out five or six sheets from different paper stocks — ideally with a range of weights, finishes, and fiber contents. Mix in some surprises: a piece of recycled kraft, a smooth Bristol, a toothy watercolor sheet, maybe a Japanese tissue if you have one around. Lay them out on a clean, well-lit surface.
Now, before you do anything else, flip them all face-down. Seriously. Remove the labels from your brain.
This is the blind tasting. Your job for the next few minutes is to touch before you think.
Run your fingers across each sheet slowly. Notice:
- Tooth — that slight resistance or grab that catches your fingernail
- Warmth vs. coolness — some papers feel almost cold and clinical; others feel warm and almost soft
- Weight and body — does it feel substantial or papery-thin? Does it drape or hold its shape?
- Surface uniformity — is it consistently smooth, or does it have a slight topography?
Jot down a few words for each sheet as you go. Don't worry about being technically accurate — just be honest. "Squeaky." "Buttery." "Like dry grass." "Feels expensive." These are your first tasting notes.
Building a Sensory Vocabulary That Actually Sticks
The goal isn't to memorize paper specs. It's to build a personal shorthand that connects physical sensation to creative outcome. Sommeliers often anchor new flavors to memories — "this tastes like the inside of a cedar chest" — and you can do the same with paper.
Start grouping your impressions into a few broad sensory categories:
Texture and Tooth From glassy-smooth to sandpaper-rough, with a dozen stops in between. Smooth papers tend to reward precise, detail-oriented work — think fine-line illustration or technical drawing. Papers with more tooth grab pigment differently and can add a kind of natural grain to your marks that smooth surfaces simply won't give you.
Brightness and Color Temperature Hold sheets up to natural light if you can. Some whites are cool and almost blue-tinged; others lean cream or warm ivory. This affects how your colors read on the surface. A warm white can make cool blues feel muddy. A stark bright white can make warm ochres pop with unexpected vibrancy.
Absorbency and Resistance If you work with wet media at all, this is huge. Drag a damp finger across the surface. Does it absorb immediately? Does it bead slightly? Some papers will pull ink in fast and spread it; others will hold it on the surface longer, giving you more time to work. Neither is better — they just serve different intentions.
Structural Integrity Fold a small corner gently. Does the paper crease cleanly or does it crack? Does it bounce back? This tells you a lot about fiber content and how the paper will behave under manipulation — important if you're doing origami, book arts, or layered collage work.
The Side-by-Side Comparison Trick
Once you've gone through a blind tasting, the next level is a side-by-side comparison with your actual tools. Grab whatever you use most — a favorite pen, a brush loaded with watercolor, a stick of soft pastel — and make the same mark on each sheet.
Don't make a drawing. Just make a mark. A line, a wash, a smear. Keep it simple so you're comparing the paper's response, not your technique.
Then look at what happened. Which surface gave you the most control? Which one surprised you — in a good way or a frustrating one? Where did your tool feel at home?
This exercise often reveals something that straight touch-testing won't: the gap between what you think you prefer and what your hands actually respond to. Plenty of artists assume they want a smooth, controlled surface, then discover through side-by-side comparison that a little tooth and resistance actually sharpens their work. You can't know until you test.
Keeping Notes You'll Actually Use Later
Here's the part most people skip: writing it down. Not in a precious, formal way — just a running index. Some creatives use a small notebook where they tape a tiny swatch of each paper they test alongside their notes. Others keep a simple spreadsheet or even a notes app on their phone.
What matters is that you capture:
- What the paper is (brand, name, weight if you know it)
- Your sensory impression in your own words
- How it performed with your specific tools
- What kind of work you'd reach for it for — or wouldn't
Over time, this becomes a genuinely useful personal reference. When you're standing in a shop or scrolling through a paper supplier's website and you see a description that reminds you of a paper you've already tested, you'll have actual data to work from instead of guesswork.
The Real Point of All of This
Developing a paper palate isn't about becoming a snob — it's about becoming efficient. The more clearly you can articulate what you're looking for in a sheet, the faster you find it, the less money you waste on papers that don't serve your work, and the more confidently you can experiment with something new.
Wine tasters aren't just showing off when they talk about tannins and finish and mouthfeel. They're communicating something real and useful in a shared language that shortcuts a lot of confusion. You deserve that same shortcut for paper.
Start small. Pull a few sheets. Touch them before you read the labels. Write down something honest. Then do it again next week with a different set.
Your palate is already there. You just haven't trained it yet.